Free Class – Custom Graduation Tumbler
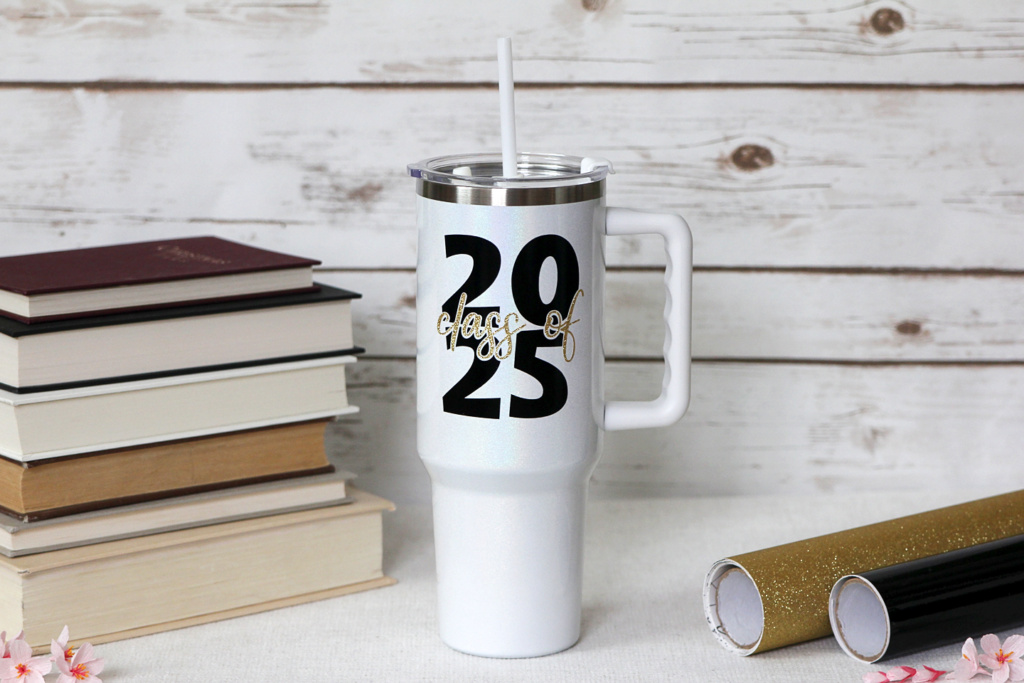
It’s time for a new free Michaels/Silhouette class! We’re going beginner-friendly with applying vinyl to make a custom graduation tumbler for the grad in your life! The class was live (online) for registered attendees on Thursday, May 15, 2025 at 11:00 am MT (12pm CT).
Missed the class or want to watch it again? Here you go! (Check below the video for the class description, supply list, and written instructions.)
Class Recorded Video:
Class Description:
Celebrate your grad with a personalized tumbler using Silhouette Studio and the fonts on your computer! Join Kelly as she shares expert tips and tricks for customizing your design to make your graduate feel special. Choose 1-2 colors of permanent adhesive vinyl in their school colors to bring your creation to life. In class, Kelly will demonstrate using the Silhouette Cameo 5, but these techniques and the project can be done with any Silhouette machine. Plus, you’ll gain skills that can be used for future custom vinyl projects!
Class Supplies:
- Tumbler, 40 oz. (can be any size tumbler with straight sides)
- Silhouette Cameo 5 (or any Silhouette cutter)
- 1-2 colors permanent adhesive vinyl (in school colors)
- Transfer tape
- Weeding tool
- Vinyl scraper tool
- Ruler
- Scissors or paper trimmer
- Fonts on your computer (in the class I’ll use Design ID #253507 “Stars and Stripes” and #1251209 “Mustard”)
- Silhouette Studio Software installed on your computer
- Use my affiliate code TIME2 for 5% off any purchase on SilhouetteAmerica.com or SilhouetteDesignStore.com
Instructions:
Software:
- Draw box as guide for usable space on tumbler (measure) [4”x5”]
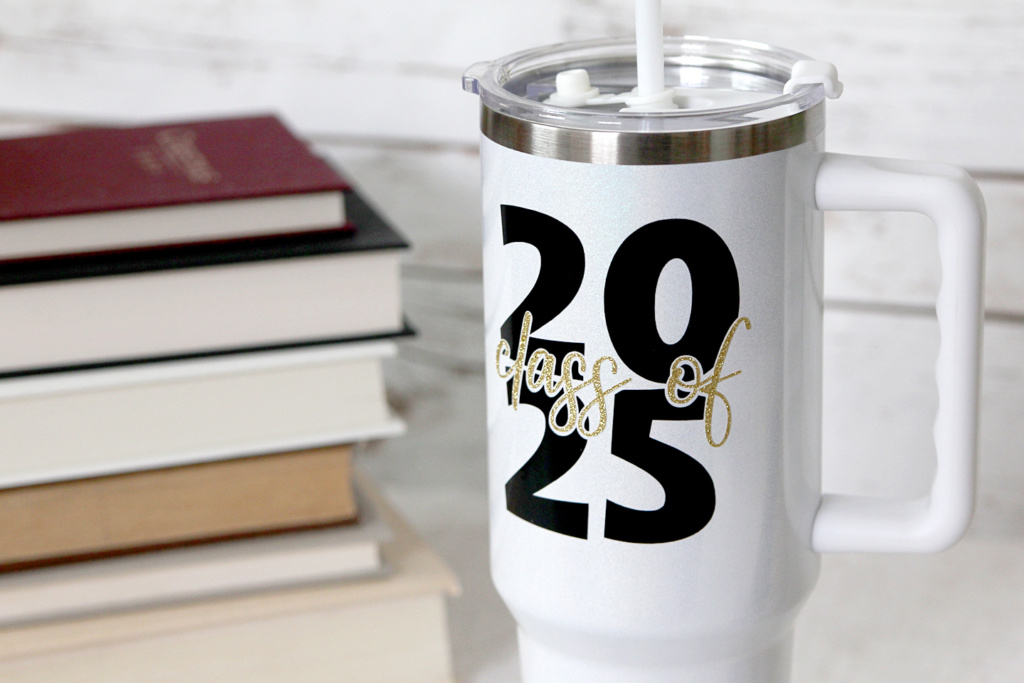
- Text tool – type 2025
- Move into box and resize larger (fill only 4” of box to leave room for name)
- Text-edit mode: drag bar left to split 20/25 onto two lines
- Fill font with colors (black fill, no outline)
- Font Panel:
-
- Reduce line spacing
- Choose font (I used Stars & Stripes)
- Continue to adjust spacing, size, etc. to fill 4” of drawn box (leave room for name)
- 180 pt, Line spacing 55 %
- Add new text – type “class of”
- Fill with gold color, no outline
- Experiment with bold script fonts (I used Mustard)
- Resize larger, but don’t overpower numbers (105 pt)
- New text: (any name)
- Use same font and color as “class of” but keep small enough to fit in box
- Adjust all to fit inside box
- Make copy to the side of all text pieces
- Black numbers – ungroup/regroup to see actual size
- Gold – weld + group
- Align all Center
- Select “class of” and create offset (0.030 in.)
- While Offset is selected, open MODIFY Panel
- Shift to add black numbers to selection – choose Subtract
- Group black numbers
- Place only pieces you want to cut on virtual mat (adjust Page Setup Panel for no mat)
SEND Panel:
- Material = Vinyl, Glossy
- Automatic Cross Cut (check “enabled” if want to use – personal preference)
- Test Cut
- My settings: (Glossy = Blade 2/Force 10/Speed 5; Glitter = 4/14/5 x2 passes; Textured gold = 2/12/10)
Assembly:
- Weed
- 2 types of transfer tape, if using Silhouette Glitter vinyl
- Apply black first
- Use offset/cutout as guide to place gold next
- Add name or other details like high school name, etc.
Find more of my Michaels classes here.
This post contains affiliate links. Your price is the same, but I may receive a small commission when you use my links. Thanks for your support!

