Crafty Projects and Silhouette Inspiration and Instruction
TUTORIALS
These images each link to a tutorial I’ve made. They include project tutorials and software tutorials. Comprehensive video lessons for Silhouette Studio are posted separately on the SILHOUETTE LESSONS page of this website.
If you know the tutorial you’re looking for, it may be faster to use the Search box on my website.
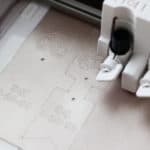
Silhouette PixScan Tutorials:
PixScan Like a Pro Full-Length Class
PixScan: Video Overview
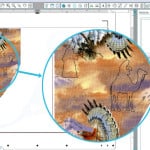
Silhouette PixScan: Import by Scanner
PixScan: Salvage a Print & Cut
PixScan: Replace Fussy Cutting
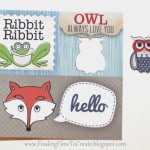
PixScan: Cut Out Stamped Images
PixScan: Cut Fabric with your PixScan Mat
PixScan: Sketch and Cut on Kit Labels and Tags
Silhouette Mint Machine and Mint Studio Tutorials:
Master List of Mint Studio™ Software Video Tutorials
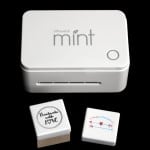
Silhouette Mint Overview and Q&A
Step-by-step: Make a Mint Stamp
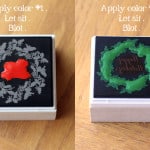
How to make a multi-color Mint stamp
Multi-color Mint Stamps
Silhouette Curio Tutorials:
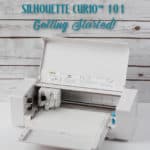
Curio: Getting Started!
5 How-To Videos for Every Silhouette Curio User
Curio Metal Stippling Tutorial
How to Use Emboss Effects for Etching, Sketching, Embossing, etc.
Stipple with Silhouette Curio (Video)
Curio: Metal Stippling
Curio: Metal Etching 1
Deboss with the Curio
Curio Print & Emboss
Deep Cut Blade
Curio: Metal Etching 2
Curio: Multi-Color Stipple
Curio: Scratchboard Art
Dual Carriage
Embossed Leather Key Chains
Using Foil Transfer Sheets
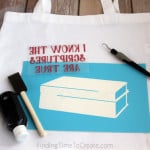
Curio: Etching Acrylic
Curio: Print & Foil Technique
Silhouette Alta and Silhouette 3D:
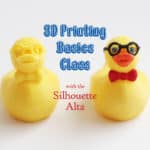
3D Printing Basics Full-Length Alta Class
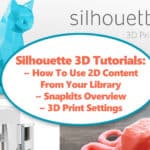
Silhouette 3D Video Tutorials 1.0
Silhouette 3D Software Tutorials 1.2
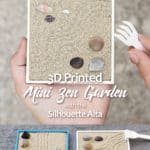
3D Printed Zen Garden
How to Make a Custom Keychain
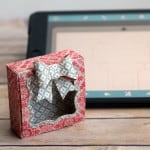
3D Printed Camera Keychain DIY
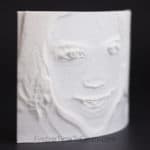
3D Printed Lithophane
Product, Assembly, and Software Tutorials:
Silhouette Studio Mobile App
Do I Need a Heat Press?
Tips for a New Silhouette Cutting Mat
How To Create Sketch Pen Fills
Become a Print & Cut Pro
Manipulating Fonts for Better Cutting
Silhouette Blade Tools
Silhouette Blade Troubleshooting
Test Cut: Improve Cut Quality
Working with large vinyl projects and vinyl roll feeder
Perpetual Flip Calendar
Grandma Album Assembly
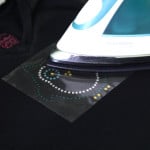
Multi-color Heat Transfer
Print & Cut Tutorial
The Many Uses of Adhesive Cardstock
Baby Girl Onesie | Heat Transfer Tutorial
Fabric-Wrapped Canvas with Heat Transfer Quote
Text-to-Path Tutorial
Silhouette Print & Cut Tutorial
Sketch Pens: Using Multiple Colors
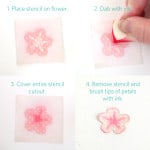
Multi-Layer Stencil Tutorial for Fabric Ink
Pop Up Letter Tutorial
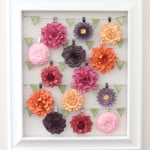
Flowers in a Frame and Nesting Tutorial
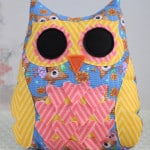
Rhinestone Owl Tutorial
Silhouette Stencil Material
Springtime Branches
Bird Cage Decor
Swing in Tree Decor
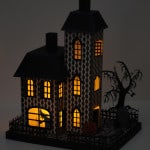
3D Haunted House Assembly
Umbrella Mobile
DIY Mobile with Adhesive Cardstock
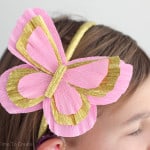
Butterfly Headband with Italian Crepe Paper
Spring Shamrock Arrangement
Sketched Winter Card
Card Assembly Tutorial
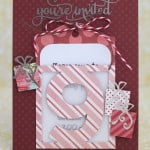
Pocket Tag Card
Fabric Owl Pillow with the CAMEO
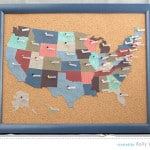
Map Decor
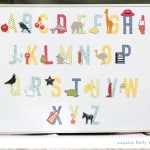
Alphabet Magnets
Glitter & Vinyl & Rhinestones
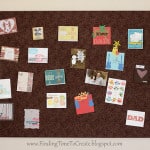
DIY Giant Magnet Board
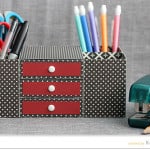
Desk Organizer
Craft Stick Puzzles
Custom Address Labels
Make a 3D Rosette
Charms and Window Card
Stenciled Valentines
3D Paper Dolls
Cake Cut-Out Card
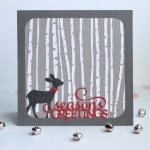
Seasons Greetings Card
Sketch Pen Background
Gratitude Album
Travel Chalkboard
Pinwheel Mobile
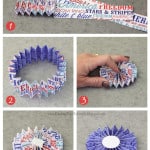
DIY Patriotic Ribbon
Sliding Whale Card (Video Tutorial)
Letterpress Success
Mason Jar Bouquet
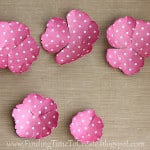
DIY Paper Peonies
Card Gift Set
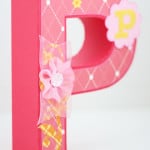
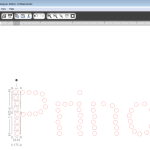
SPRING 3D Letters
Farm Animals Book
Card Organizer
Note Holder
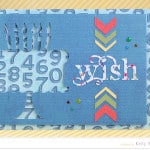
Be Happy Card
Dial Calendar
Ways to use Washi Sheets
Christmas Countdown
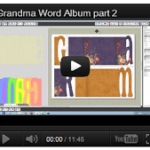
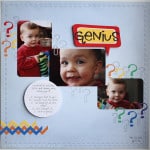
Design a Word Album
Turn Dingbat Fonts into Embellishments
Use Silhouette Studio without a Silhouette Machine
How to Apply Vinyl (Video Tutorial)
Design Your Own Scalloped Oval
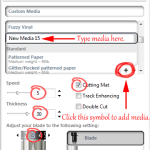
Silhouette Studio: Adding Custom Material Settings
Design a Custom Envelope
Design a Flourish Frame for Cards
Fabric Flowers with the Silhouette
Fabric Flowers with No Interfacing
Print & Cut on Fabric
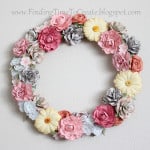
Floral Wreath with Paper Flowers
Hoppy Easter Framed Art
Scraplifting with Silhouette Studio
Card Gift Set and Sketch Pen Tutorial
Design Your Own Scalloped Circles
Christmas Village Assembly Tutorial
Heart Mobile Tutorial
Sweet Valentine Mobile
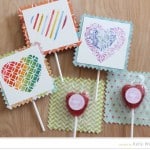
Valentine Suckers with Custom Text
Rhinestone Tool (Studio DE) for Single-Line Text
Halloween Mobile Tutorial
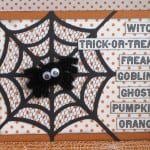
Halloween Card with Spider
Creepy Halloween Party Invite
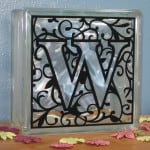
Subway Art: Vinyl on Glass
Interactive Card
DIY Embellishments from Free Dingbat Fonts
Robot Valentines
Valentines with Welded Words
Fuzzy Vinyl Monogram
Calendula Bouquet
New CAMEO USB Port
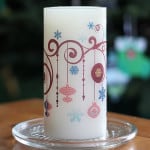
Holiday Candle with Tattoo Paper
Juice Box Gift Tote (Video)
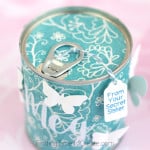
Altered Pop-Top Can
FHE Magnet Chalkboard
Stipple with Silhouette Curio (Video)
Deboss with the Curio
Curio Print & Emboss
Etching with the Silhouette Curio
Sticker Paper, Print & Cut, and Crop tool
Curio: Metal Etching 2
Heat transfer and vinyl as stencil for fabric ink
UV-sensitive fabric ink tutorial
Step-by-Step Fabric Ink Tote
Applying multiple colors of heat transfer
Twin Onesies
Import a PDF Template into Silhouette Studio DE
Applying Vinyl to Curved Shape
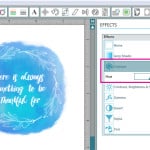
Shader Effects Window in Silhouette Studio
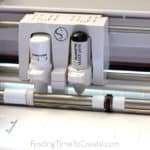
Sketch & Cut with Silhouette Dual Carriage
Dual Carriage
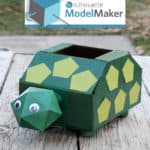
About Silhouette ModelMaker™
Watercolor Print & Cut
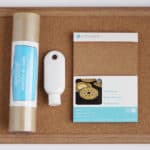
How to Use Ahesive Cork Sheets
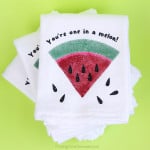
Watermelon Dish Towels
Picnic Party Decor
Object on Path Silhouette Studio Feature
Duct Tape Tissue Boxes
Pop-Up Creator in Silhouette Studio
Pop-Up Birthday Card
My Favorite Adhesives
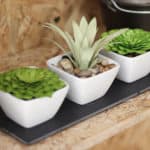
Paper Succulent Trio
Etched Glass Wedding Gift
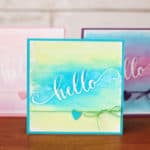
Masked Watercolor Cards
DIY Princess Sash
How To Use Dingbat Fonts
DIY Fidget Spinners with your Silhouette Machine
14 thoughts on “TUTORIALS”
Hi, I need your help if you do not mind. I have a Julie Nutting doll stamp that I imported to Silhouette, I want to color it to look like an African American I am having a lot of challenges completing it. I wanted to color the skin and the clothes. Would you please if you would make a video that will guide me step by step. I certainly do appreciate your tutorials on the Silhouette, I just found your site. I have had my machine for at least four years and cannot get the use out of it I should. Thank you
Hi, Gloria. As wonderful as the Silhouette Studio software is, coloring is not one of its strong points. If you have a design that is already divided, you can color individual pieces of the design with the Fill Color Window. A stamp or illustration is pretty difficult to color in Studio; I’ve tried it several times with little success. I wish I could help more on that. Your best bet would be to color a stamped (or printed) image by hand and then scan to import it into Silhouette Studio before assigning cut lines.
Thank you, it can be done a young lady does it but she took my money and did not deliver all of my images. And then there is another person on you tube I have seen but trying to find her again, oh well, thanks again. I have learn a lot from your tutorials.
Okay I found some old ones and a new one, check them out.1. Silhouette Studio Tutorial: How to cut and color digis – Monica Flores – 2. Coloring digital images in Silhouette Studio – Crafticakes7 – 3. How to color in digi’s with Silhouette Designer Edition Software : Jessi Buehrle, all on Youtube.
Kelly hi, how do you remove/delete the white area behind the digital image you bring into Silhouette. Explore has a great and easy way but cannot find the tool on the Silhouette. Thks
You need to crop out that white background from the image. The fastest way is to perform a Trace around the image and choose “Trace and Detach.” You may need to “turn on” the cut line in your Cut Settings Window by selecting “Cut Edge.” You might find the middle video helpful in this paper doll tutorial. The tracing part starts about 3 minutes in, once the image is already in Studio.
Alternately, you can draw any shape around the image and go to Modify>Crop.
Hi Kelly those are some fantastic videos I sure did learn a lot I did not know. But I am still trying to learn how to color in an image. If you have a line drawing image that is not colored can you add color to the various areas with Silhouette using the fill color window colors. Happy New Year
The fill colors are able to fill closed shapes. A line drawing image generally has the “line” as its closed shape, and the in-between parts are voids, therefore cannot be filled. It depends on the design, but you might be able to right click and “release compound path” to turn the line drawing into layers with individual shapes that can be filled. Another alternative is to use drawing tools to “draw” a shape inside the lines, which can then be filled with color. It can sometimes be tedious and time-consuming, but you definitely learn a lot about the software.
I just learned how to use Inkscape to change a pdf into a dxf file, which can be used by multiple die cut software programs such as Silhouette Studio. I love it because the dxf file loads as a series of cut lines instead of an image I have to trace and can include dashed fold lines and such. I’ve done this with several pdf files from online.
I’ve been trying to save my own projects in a pdf format to share with others, but when I load my own pdf files (made using the print function and bullzip free pdf printer) the pdf files turn out different somehow.
When I open my own pdf files in Inkscape, instead of registering as line paths I have a bunch of separate image squares that won’t even ‘trace’ and have white lines between them. Any advice? I’m tearing my hair out trying to unravel this problem!
Hi, Jessica. I haven’t tried to save my own PDFs in a format that can eventually be converted to a vector or cut file. I do know that Silhouette Studio DE can open some PDFs as a vector, but not all. The way a PDF is created has an effect on how it can be opened in design programs. I suspect that Bullzip can’t save it the right way and that you probably need a different program. I’ll see what I can find out and get back to you.
Kelly, I am new to the Silhouette world and to be honest it has been very intimidating. I really purchased the Curio to try to do cutting and embossing on wedding invitations. I have a question that I’m hoping you can answer for me. I have searched and searched trying to find the ‘how to’ but have been unsuccessful. Is it possible to cut part of an image so when you fold it, like a greeting card, the image, such as a flower, hangs off the side of the card? I think of it as a 3D image. The part of the image remaining on the front of the card would be scored and embossed. I’m not sure how to do it in the software. When I select an image for cutting, it selects the whole image. Any suggestions or advice would be most appreciated.
Diane, that’s a bit of a complex cut, but it can be done. Do you mean the image hangs off the folded side of the card or the non-folded edge of the card? If you have an example of what you are thinking of, will you please send me an email at kelly@findingtimetocreate.com? Do you have the extra-large Curio base, or the standard base?


Hi, I need your help if you do not mind. I have a Julie Nutting doll stamp that I imported to Silhouette, I want to color it to look like an African American I am having a lot of challenges completing it. I wanted to color the skin and the clothes. Would you please if you would make a video that will guide me step by step. I certainly do appreciate your tutorials on the Silhouette, I just found your site. I have had my machine for at least four years and cannot get the use out of it I should. Thank you
Hi, Gloria. As wonderful as the Silhouette Studio software is, coloring is not one of its strong points. If you have a design that is already divided, you can color individual pieces of the design with the Fill Color Window. A stamp or illustration is pretty difficult to color in Studio; I’ve tried it several times with little success. I wish I could help more on that. Your best bet would be to color a stamped (or printed) image by hand and then scan to import it into Silhouette Studio before assigning cut lines.
Thank you, it can be done a young lady does it but she took my money and did not deliver all of my images. And then there is another person on you tube I have seen but trying to find her again, oh well, thanks again. I have learn a lot from your tutorials.
Okay I found some old ones and a new one, check them out.1. Silhouette Studio Tutorial: How to cut and color digis – Monica Flores – 2. Coloring digital images in Silhouette Studio – Crafticakes7 – 3. How to color in digi’s with Silhouette Designer Edition Software : Jessi Buehrle, all on Youtube.
Thank you, Gloria. I will check those out.
Kelly hi, how do you remove/delete the white area behind the digital image you bring into Silhouette. Explore has a great and easy way but cannot find the tool on the Silhouette. Thks
You need to crop out that white background from the image. The fastest way is to perform a Trace around the image and choose “Trace and Detach.” You may need to “turn on” the cut line in your Cut Settings Window by selecting “Cut Edge.” You might find the middle video helpful in this paper doll tutorial. The tracing part starts about 3 minutes in, once the image is already in Studio.
Alternately, you can draw any shape around the image and go to Modify>Crop.
Hi Kelly those are some fantastic videos I sure did learn a lot I did not know. But I am still trying to learn how to color in an image. If you have a line drawing image that is not colored can you add color to the various areas with Silhouette using the fill color window colors. Happy New Year
The fill colors are able to fill closed shapes. A line drawing image generally has the “line” as its closed shape, and the in-between parts are voids, therefore cannot be filled. It depends on the design, but you might be able to right click and “release compound path” to turn the line drawing into layers with individual shapes that can be filled. Another alternative is to use drawing tools to “draw” a shape inside the lines, which can then be filled with color. It can sometimes be tedious and time-consuming, but you definitely learn a lot about the software.
thk you
I just learned how to use Inkscape to change a pdf into a dxf file, which can be used by multiple die cut software programs such as Silhouette Studio. I love it because the dxf file loads as a series of cut lines instead of an image I have to trace and can include dashed fold lines and such. I’ve done this with several pdf files from online.
I’ve been trying to save my own projects in a pdf format to share with others, but when I load my own pdf files (made using the print function and bullzip free pdf printer) the pdf files turn out different somehow.
When I open my own pdf files in Inkscape, instead of registering as line paths I have a bunch of separate image squares that won’t even ‘trace’ and have white lines between them. Any advice? I’m tearing my hair out trying to unravel this problem!
Hi, Jessica. I haven’t tried to save my own PDFs in a format that can eventually be converted to a vector or cut file. I do know that Silhouette Studio DE can open some PDFs as a vector, but not all. The way a PDF is created has an effect on how it can be opened in design programs. I suspect that Bullzip can’t save it the right way and that you probably need a different program. I’ll see what I can find out and get back to you.
Kelly, I am new to the Silhouette world and to be honest it has been very intimidating. I really purchased the Curio to try to do cutting and embossing on wedding invitations. I have a question that I’m hoping you can answer for me. I have searched and searched trying to find the ‘how to’ but have been unsuccessful. Is it possible to cut part of an image so when you fold it, like a greeting card, the image, such as a flower, hangs off the side of the card? I think of it as a 3D image. The part of the image remaining on the front of the card would be scored and embossed. I’m not sure how to do it in the software. When I select an image for cutting, it selects the whole image. Any suggestions or advice would be most appreciated.
Diane, that’s a bit of a complex cut, but it can be done. Do you mean the image hangs off the folded side of the card or the non-folded edge of the card? If you have an example of what you are thinking of, will you please send me an email at kelly@findingtimetocreate.com? Do you have the extra-large Curio base, or the standard base?