Fabric Ornament with PixScan
 I’m here to show you another fun way to use your PixScan™ mat. I made a fabric ornament and wanted to cut my pieces from a certain part of a scrap of fabric. The PixScan™ mat allowed me to do exactly that. Read on to find out how to use the PixScan with fabric.
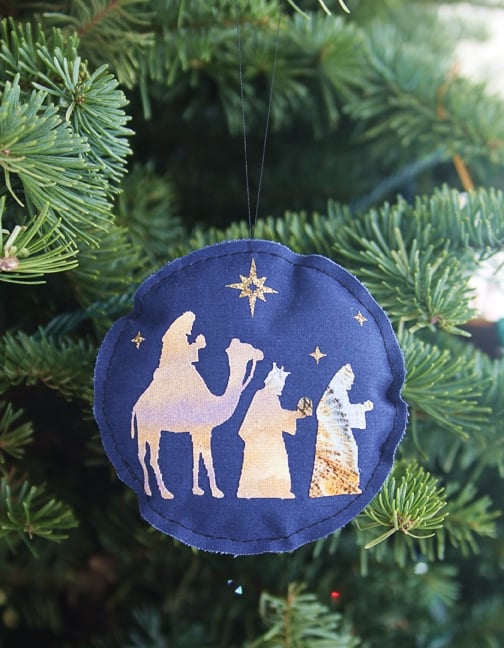
I found this great wise men design and phrase for my ornament, so I resized everything to fit the front and back of two 4-inch circles. I have had this small scrap of fabric in my stash for a while and wanted my wise men to have these colors. The best way to choose exactly which part of the design will cut is to use a PixScan™ mat. (It’s not just for paper!)
Clean cut fusible fabric stabilizer is the medium I chose for my wise men. I think it gives just a little bit cleaner edge on detailed cuts than the sewable stabilizer, and I won’t ever need to wash it. I chose cut & sew fusible fabric stabilizer for the background circles because I needed to stitch around the edge.
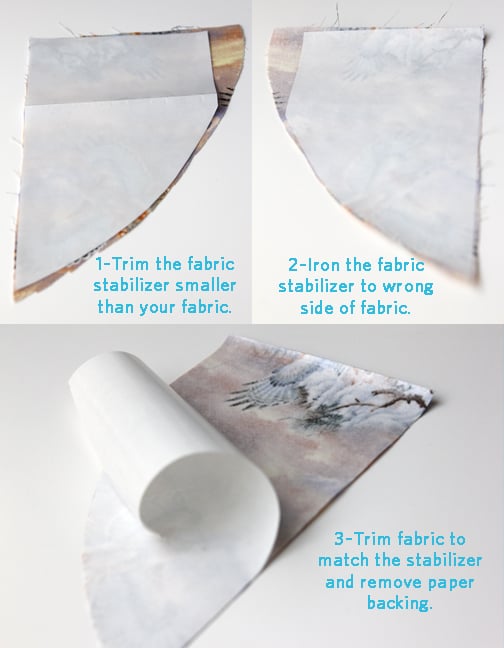
For a fabric scrap I do the following:
- Cut a piece of stabilizer just slightly smaller than the scrap of fabric so none of the glue is exposed to your iron or ironing board.
- Iron the stabilizer in place, rough side against the wrong side of the fabric.
- Trim the fabric edge to match the stabilizer edge.
- Remove the paper backing and place it stabilizer-side-down on to your cutting mat (PixScan™ mat, in this case). Tip: I have found that a sticky mat works better than an old mat, and definitely cut with a dedicated fabric blade that has never cut other materials.
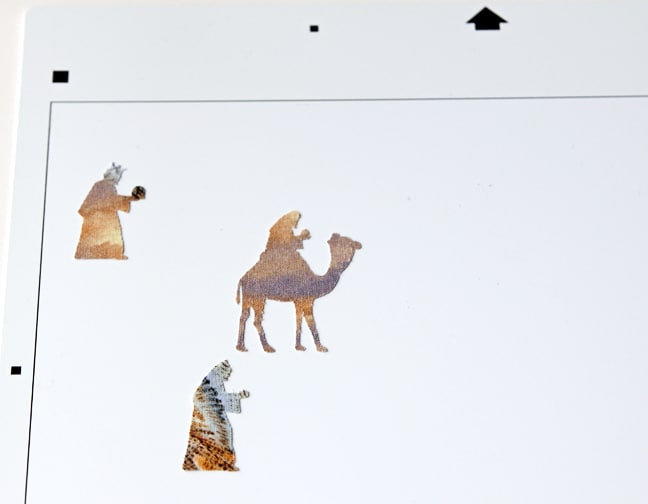
Here is my fabric on my PixScan™ mat, ready to be scanned and cut.
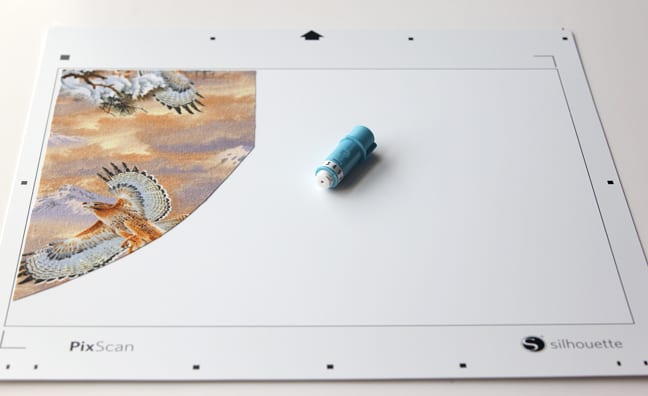
To import the PixScan™ image of your fabric, follow the steps in this post for scanning. Or import with a photo, if you like that method better.
Once I imported it into Silhouette Studio, I was able to place my wise men on the virtual fabric so I could pick out exactly which part of the design I wanted each wise man to show.
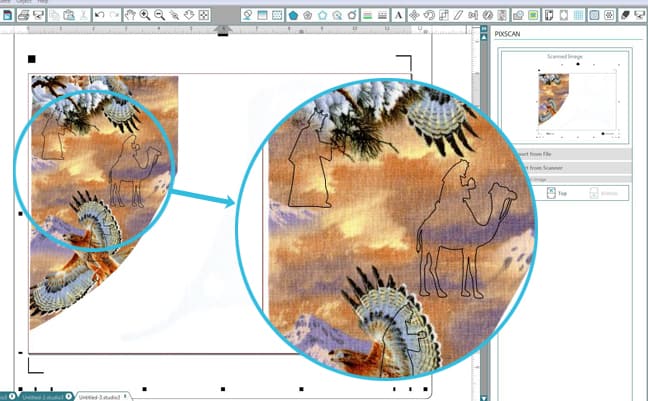
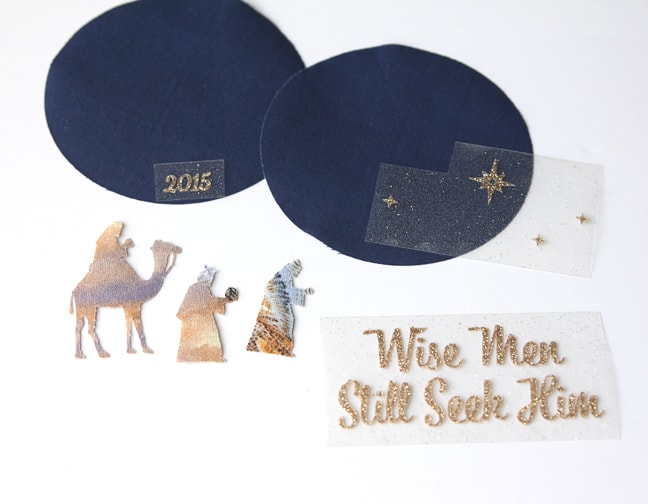
Here they are after cutting:
I cut the rest of my pieces in preparation for assembling the ornament. (A PixScan™ mat is not necessary for cutting heat transfer material or for cutting fabric in general. A regular cutting mat will do.)
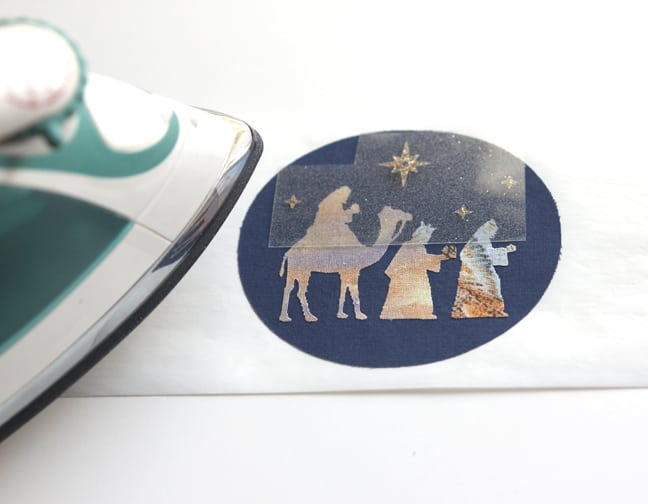
I ironed on the wise men to a blue circle, and then ironed the glitter heat transfer on top. Important: Because the blue circles also have fusible fabric stabilizer on them, be sure to place them on top of the shiny side of the paper backing that came from one of the stabilizer pieces. If you place it directly on to your ironing board to iron the upper layers, you will fuse the circles to your ironing board!
 Finally, I machine stitched around the edge and lightly stuffed my ornament. I think I like the sparkly back side of my ornament as much as the front. I hope you are using your PixScan™ mat to its full potential!
P.S. Be sure to check out my PixScan Like a Pro free Silhouette class!

This post contains affiliate links. It won’t change your price, but it helps you by getting exactly the product I used, and it helps me by giving me a little commission to help support this blog. Win-win. 🙂


Another use for PixScan – love it! I have wondered how/why I’d “need it” as I already have a scanner. I love seeing examples like this one. (Your ornament would make a great Christmas gift.)