Craft Along: Embossed Vellum Card
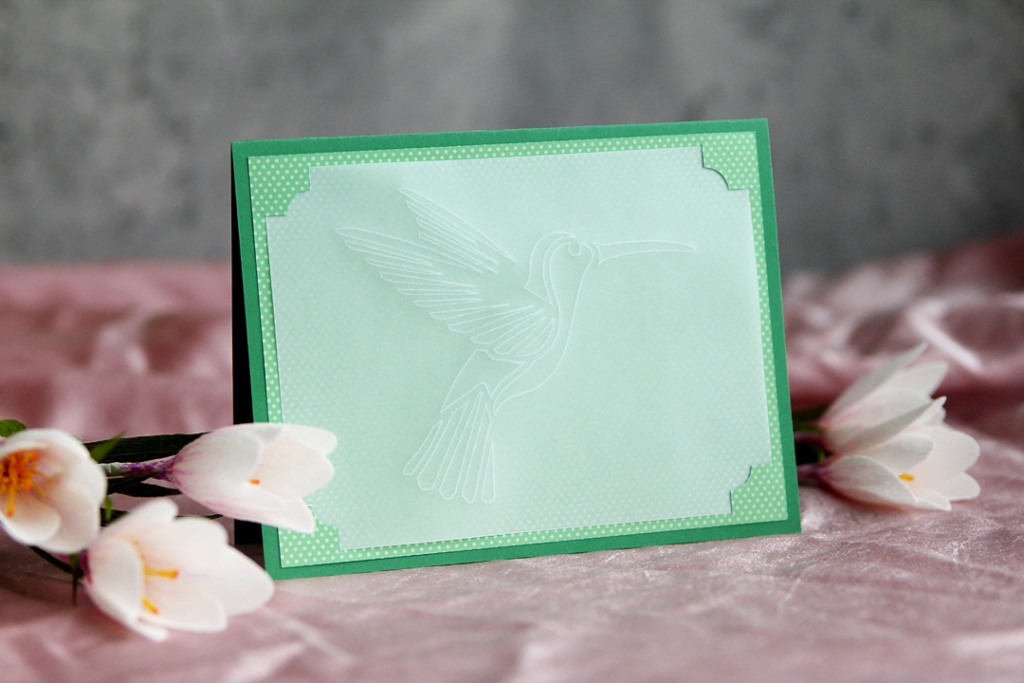
Learn how to make an embossed vellum card in my latest free Silhouette Craft Along class! I know many of you are curious about how to use the new Silhouette Embossing Tools released in late 2023. There are lots of ways to use them, but one of my favorites is embossing vellum because it is both easy and lovely!
This class uses the Silhouette Curio 2 and the 12×12 embossing mat, but the same mat and tools can be used in the Silhouette Cameo 5. Machine setup/loading is different, but the software process and embossing settings are the same between both machines.
Watch the class video, and you’ll find my supply list and written instructions below.
Craft Along Video: Embossed Vellum Card
Supplies/Tools:
- Silhouette Curio 2
- ES Protector Sheet (included with Curio 2) – get refills here
- Embossing Mat (12×12) with tabs to secure vellum
- Autoblade
- Embossing Tool Set (Fine)
- Vellum
- Dark paper (subtle pattern or solid) – any weight (I use a thin pattern paper in the video)
- Cardstock in coordinating color for card base
- Adhesive
- Design ID #437774 Hummingbird Card
- Design ID #462926 Layered Vellum Insert Card
Instructions (same as in the video, above):
Software:
1- Page Setup Panel: Machine = Curio 2; Cutting Mat = Protector Sheet Only; Media Size = 12×12; Show Cut Border enabled
2- Can cut vellum piece with the Autoblade on the Curio ES bed, or trim to 5.0” x 3.75” with a paper trimmer
Tip — I use the following settings for cutting vellum: Blade depth 2, Force 30, Speed 6-10
3- Open card design and prepare to cut notched backing piece from thin pattern paper on ES bed by positioning onto cutting area
4- Set Media Size to match actual paper
Demo:
5- Place Autoblade in left side, Fine Embossing tool in right side
6- Place ES clear protection sheet onto ES bed
7- Place pattern paper onto ES bed
8- Turn on ES power and wait, then smooth down paper and protector sheet
Software:
9- Go to Send Tab
- Verify red cut lines for Carriage 1
- Set Material to Copy Paper, Medium (or best paper choice)
- Blade 2, Force 18, Speed 10
- Send (enable auto height detection)
Demo:
10- Turn off ES bed charge and remove clear protector sheet
11- Place Embossing Mat into place (line up corner marks on mat with marks on Curio bed)
12- Turn on ES bed to charge, and wait for it to cling to the Embossing Mat
Software:
13- Set Page Setup for new mat: Cutting Mat = Curio 2 (emboss); Media Size = Vellum size (5.0” W x 3.75” H)
Note: I don’t usually cut on the Embossing Mat, so when I want to center a design I will pre-cut the piece and then set my media size exactly to that size.
14- Open hummingbird design
15- Ungroup, move pieces, release compound path, ungroup, move pieces
16- Group released hummingbird pieces and set line pt to 0.0
17- Resize slightly smaller to 3.15” H
18- Center to page
Note: Need to mirror design if using text or if the design’s direction matters
19- Send Tab:
- Select hummingbird, choose Emboss for Carriage 2 (lines will turn blue)
- Carriage 2 Material = Vellum (may need to add material details in “MORE” button)
- Force = 16, Speed = 10
Demo:
20- Use clear tabs that come with embossing mat to grip vellum (at least on two edges)
21- Line up vellum piece so top and left edges align with sticky embossing mat surface
22- Send (OK for auto height detection)
Assembly:
23- Flip vellum over so embossed (raised) side is facing up
24- Tuck corners of vellum into corner notches of pattern paper
25- Attach to card base (letter size paper cut in half then folded in half) with adhesive
What do you think? I hope you give this embossed vellum card a try! Once you understand how embossing works, you can experiment with your own embossing projects and various materials and styles.
Check out my other free Craft Along classes here!
This post contains affiliate links. Your price is the same, but I may receive a small commission when you use my links. Thanks for your support!

