Craft Along: Crepe Paper Potted Plant

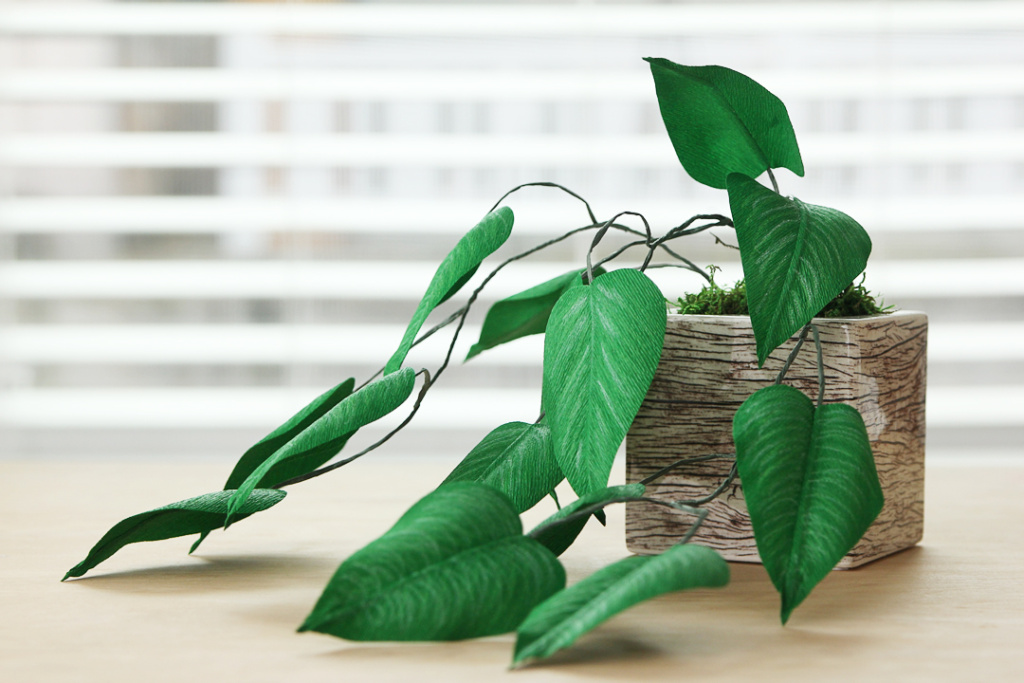
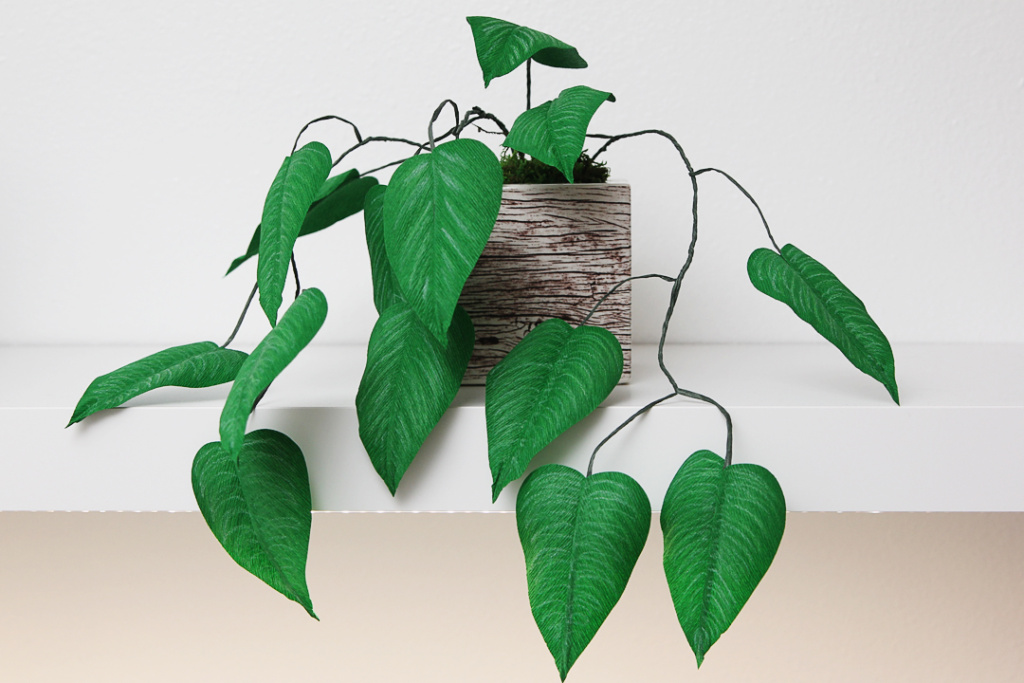
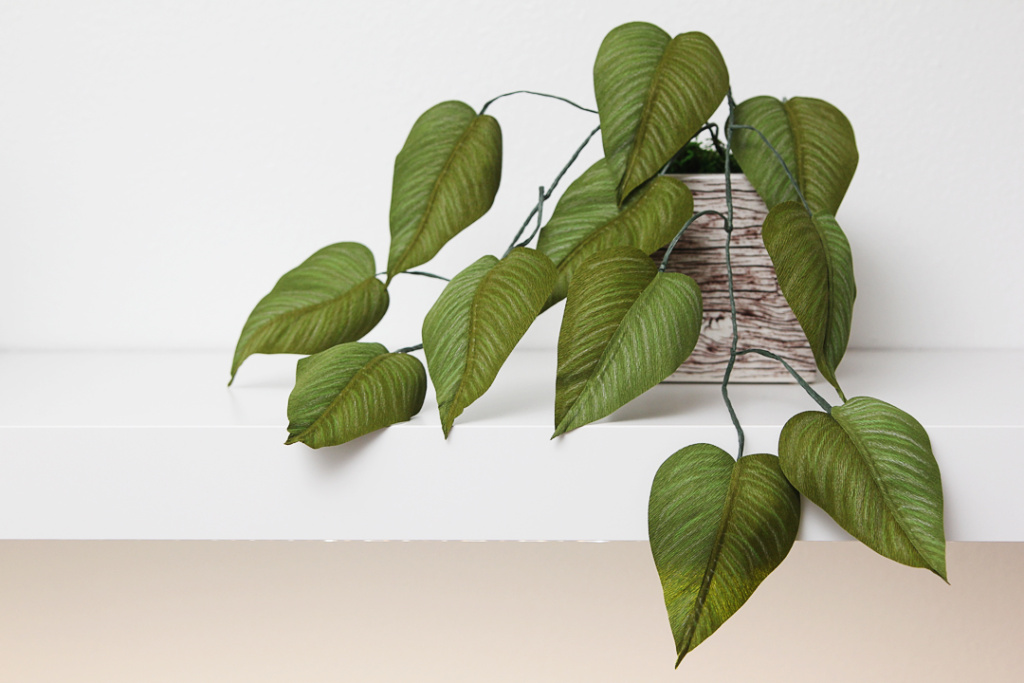
Are you ready to make this crepe paper potted plant? I’ve created a simple project for crepe paper beginners in this latest free Silhouette Craft Along online class! You can use the Silhouette Cameo 5 or Cameo 4 with a Silhouette Rotary Blade for this project.
Watch the instructional video below! You’ll find links to supplies under the video, followed by written instructions.
Watch the Video
Tools & Supplies:
- Silhouette Cameo 5 (or Cameo 4)
- Silhouette Rotary Blade
- Clean, sticky cutting mat – standard tack
- Doublette or Double-sided Crepe Paper in green
- Bind wire in green
- Colored pencils in white and bright green
- Strong white craft glue (Art Glitter Glue or Aleene’s Turbo Tacky Glue or Bearly Art Precision Craft Glue)
- Wire cutters (scissors OK)
- Scraper tool or floral shaper tool
- Brayer or cardboard tube
- Small pot (4-5”) with filler (such as floral foam and moss)
- Design ID #459899

Supplemental Written Instructions
Prep Materials:
- If necessary – make doublette crepe paper by fusing interfacing between two sheets of crepe with iron or portable heat press (see this tutorial from Lia Griffith), or use the premade version linked above
- Cut bind wire into approximately thirteen 10” segments, plus three 18” segments
- Place crepe paper onto mat with grain lines running vertically, make note of size of sheet
- Use brayer or cardboard tube to press crepe paper firmly onto sticky mat
- Insert rotary blade in Carriage 2 (expose by twisting collar, if necessary)
In Silhouette Studio Software:
- Page Setup – Select correct machine, 12×12 mat, page size to match material you placed on mat (9.7” H for LG crepe)
- Open design #459899, and make note of grain lines so they are going the same direction as the grain lines of crepe paper (vertically)
- Space out or delete some leaf halves to match the paper size you are using, if necessary
- Send Panel – Need to set these designs to cut just outer edge with Carriage 2
- Collapse Carriage 1
- Expand Carriage 2
- Choose material: Crepe Paper
- Adjust force to 18 for double-sided crepe (speed 5)
- Select all designs on page
- Choose “Rotary Cut Edge” for Carriage 2 settings
- Lines should turn blue, and Smart Cut hooks & loops will appear for orienting the blade as it cuts – placement will depend on your layout, design proximity to each other and to page boundaries, etc.
- Avoid Smart Cut loops extending beyond bottom page border
Demo:
- Load mat into Cameo and SEND
- Hooks & loops are extra cuts that reorient the blade
- When finished, remove excess paper in direction of the grain
- Remove leaves in direction of the grain
- Send second sheet to make enough leaves (flip to other side facing up if you don’t like two-toned leaves)
Assembly:
- Place glue along straight edge of leaf
- Place longest 18” bind wire almost to tip of pointed end of leaf
- Place more glue along wire
- Place opposing leaf half along glue/wire (far enough from edge so wire doesn’t show)
- Press well with fingers to seal wire inside
- Repeat with shorter 10” bind wire segments
Color:
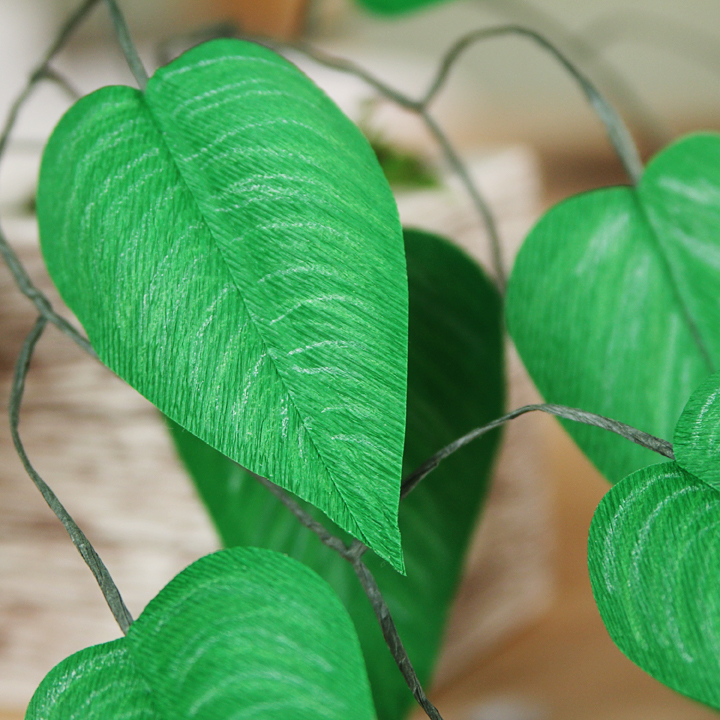
- Use colored pencils to add vein lines on each leaf (can do top side only, or also underneath side)
Shape:
- Use scraper or floral shaping tool to curl upper leaf portions away from center (don’t stretch)
- Gently stretch upper leaf portions with fingers to add shape (don’t over stretch)
- Add curve to leaf by gently bending wire center

Assemble into branches:
- Starting with long 18” leaf wire, twist additional wires onto main branch every 3-5 inches; each stem should be 3-4 inches
- Keep adding leaves to fill up branch
- Make three branches with about 5-7 leaves per branch (can make as long as you want)
- Place all branch ends into pot and cover with pebbles or dry moss
- Tip: If the soft wire does not want to stick into the floral foam, wrap to attach short segments of additional wire (can be a stiffer gauge, like 18 gauge) to the end that will be pressed into the foam

If you make this project, I’d love to see it! Tag me on Instagram @kraftingkelly . Let me know if you have any questions!
Find my other free online Craft Along classes here.
This post contains affiliate links. Your price is the same, but I may receive a small commission when you use my links. Thanks for your support!

